Pre bonded Remy hair extensions are a fantastic way to add length, volume, and style to your hair. While professional application is always recommended for the best results, many people prefer to apply these extensions at home. With the right tools, products, and technique, you can achieve salon-quality results from the comfort of your own home. At Mooi Hair Extensions, we provide high-quality Remy hair extensions and the guidance you need to use them effectively. Here is a step-by-step guide to help you apply pre bonded Remy hair extensions at home.
What You’ll Need:
- Pre Bonded Remy Hair Extensions: Ensure you have enough extensions to cover your head.
- Heat Connector Tool: A tool specifically designed for applying keratin bond extensions.
- Sectioning Clips: To help divide your hair into manageable sections.
- Fine-Tooth Comb: For detangling and sectioning your hair.
- Protective Finger Shields: To protect your fingers from the heat during application.
- Keratin Bond Remover: In case you need to adjust or remove the extensions.
- Mirror: A second mirror can be helpful to view the back of your head.
Step 1: Prepare Your Hair and Extensions
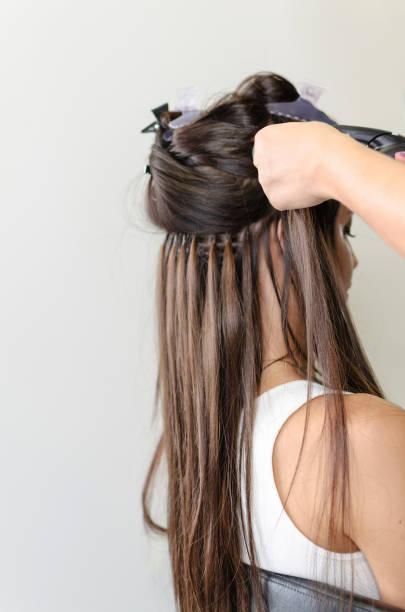
Before you begin, ensure your hair is clean, dry, and free of any styling products. Wash your hair with a clarifying shampoo to remove any oils or residue that could interfere with the bond. Thoroughly dry your hair, as damp hair can prevent the bonds from adhering properly.
Lay out your pre bonded Remy hair extensions and tools in an organized manner. This will make the process smoother and more efficient.
Step 2: Section Your Hair

Using the fine-tooth comb, part your hair horizontally about an inch from the nape of your neck. Secure the rest of your hair on top of your head with sectioning clips. This first section will be the base where you’ll start applying the extensions.
Step 3: Prepare the Extension Strand
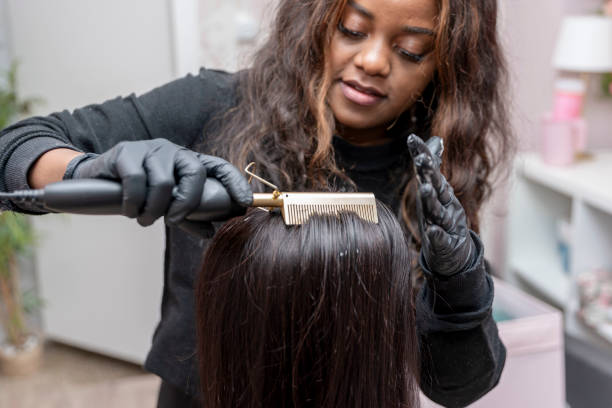
Take a single pre bonded Remy hair extension and prepare it for application. Hold the keratin bond with your protective finger shields to avoid burning your fingers. Position the extension strand so that the keratin bond is ready to be heated and attached.
Step 4: Attach the Extension
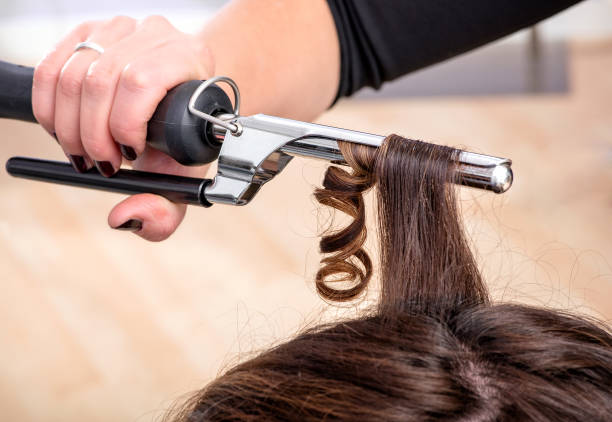
Place the extension close to the root of a small section of your natural hair, about 1/4 inch away from your scalp. Using the heat connector tool, clamp down on the keratin bond for a few seconds until it melts. Quickly roll the melted keratin bond between your fingers to fuse it with your natural hair. Ensure the bond is secure and smooth.
Step 5: Repeat the Process
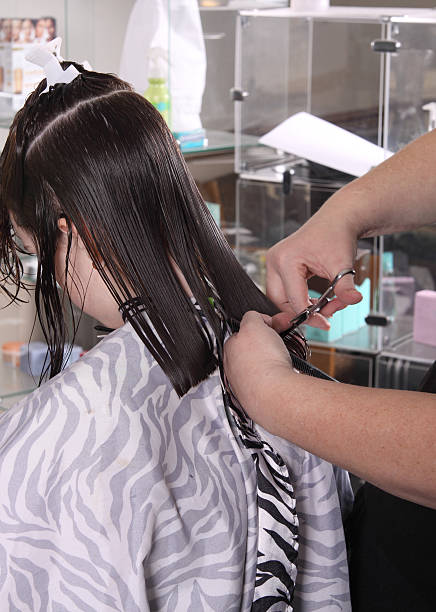
Continue this process, working your way up in sections. Part your hair horizontally, moving up about an inch at a time. Attach the extensions in rows, making sure to leave enough space between each bond to prevent them from becoming too bulky and to allow natural movement.
Step 6: Blending and Styling
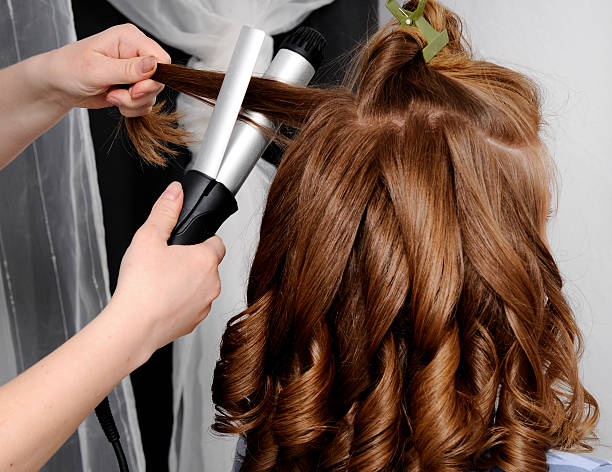
Once all the extensions are applied, use the fine-tooth comb to gently blend your natural hair with the extensions. Trim the extensions to match your natural hair length if needed. Style your hair as desired using a low-heat setting on styling tools to avoid damaging the keratin bonds.
Tips for Success
- Take Your Time: Applying pre bonded extensions can be time-consuming, especially for beginners. Allow yourself plenty of time to ensure each bond is secure and properly positioned.
- Work in Small Sections: Smaller sections of natural hair will create a more seamless and natural look. This also ensures that the extensions are well-distributed and not too heavy.
- Maintain Even Distribution: Make sure to distribute the extensions evenly across your head to avoid any noticeable gaps or uneven volume.
- Practice Safe Heat Application: Use the heat connector tool carefully and always protect your fingers. Avoid overheating the keratin bonds as this can weaken the bond and damage your natural hair.
Caring for Your Extensions
Proper care and maintenance of your pre bonded Remy hair extensions will prolong their lifespan and keep them looking beautiful. Follow these tips for optimal results:
- Gentle Brushing: Use a soft-bristle brush and start from the ends, working your way up to avoid tugging on the bonds.
- Wash with Care: Use sulfate-free shampoos and conditioners to avoid stripping the extensions of their natural oils. Wash your hair in a gentle, downward motion to prevent tangling.
- Avoid Heat Styling: Minimize the use of heat styling tools to extend the life of the keratin bonds. When you do use heat, apply a heat protectant spray and use the lowest heat setting possible.
- Regular Maintenance: Schedule regular maintenance appointments with a professional stylist to check the bonds and make any necessary adjustments.
Conclusion
Applying pre bonded Remy hair extensions at home can be a rewarding experience that transforms your look. By following this step-by-step guide and taking the time to practice and perfect your technique, you can achieve stunning, salon-quality results. At Mooi Hair Extensions, we are dedicated to providing you with the highest quality extensions and the support you need to enjoy them to the fullest. Whether you’re new to hair extensions or a seasoned pro, our range of products and expert advice will help you achieve the hair of your dreams.


