While car wraps are becoming an increasingly popular way of customizing vehicles of all shapes and sizes, not many people know what the process for installing a car wrap is. At arskin, we want to provide you with a clear idea of the process that goes into every car wrap. That is why we have put together a detailed outline of every step needed to make sure your car wrap is nothing less than perfection.
Step 1: Consultation and Design Planning
The car wrapping process starts with a consultation. The arskin team will help you choose the best colours, patterns, and graphics for your vehicle. Whether you are going for a simple, sleek look or something bold and unique, you should choose a design that perfectly aligns with your needs and brand.
Step 2: Design Approval and Material Selection
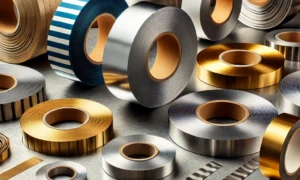
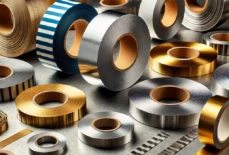
Once a design is created, it is presented for approval. We aim to ensure that the final wrap design meets your expectations. After the approval, you will then choose the type of vinyl for your wrap. We offer high-quality 3M or Avery cast vinyl products known for their durability and stunning finish. Our wraps also come with a special UV layer for added protection against the elements.
Step 3: Vehicle Preparation
Preparation is key for a successful car wrap installation. The vehicle is thoroughly cleaned to ensure no dust, grime, or grease could interfere with the adhesive process. We also remove some components like badges to ensure a seamless finish.
Step 4: Vinyl Wrap Application
With a clean and prepped vehicle, our professionals begin the actual wrap installation. This involves applying the vinyl wrap onto the surface of the vehicle meticulously, ensuring it adheres smoothly without bubbles or wrinkles. This is where our team’s experience and skill really shine through. The process can be painstaking, but precision is crucial for achieving an exceptional result.
Step 5: Post-installation Quality Check
After the vinyl wrap is applied, our team conducts a quality check. We scrutinize the wrap for any bubbles, wrinkles, or areas that may not have adhered correctly. If we spot any issues, we rectify them immediately. It is our dedication to perfection that ensures each vehicle wrap installation is flawless.
Step 6: Final Inspection
Any components that were removed for the installation are now carefully replaced. A final inspection is conducted to ensure the wrap looks perfect from every angle and blends seamlessly with the car’s components.
Step 7: Customer Handover
Once everything checks out, we invite you to see your newly transformed vehicle. We will take you through the changes and provide you with information on how to take care of your new wrap.


